
How to Pin an Organza Dupatta Without Leaving Visible Holes depends on three details: the point where the pin enters, the weight carried by that point, and the strength of the fabric around it. Organza has a crisp, open weave, so a pin placed in a plain central panel can leave a puncture that remains visible against light. Fine pins, reinforced edges, existing seams, and low-tension draping make a significant difference.
Organza dupattas may be made from silk organza, synthetic organza, organza cotton silk, or an organza-Chanderi combination. Each version has a slightly different handle, but every version benefits from careful pin placement. The following methods work for salwar suits, sharara sets, lehengas, sarees, and festive kurta sets.
Why Do Pins Leave Visible Holes in Organza?
Pins leave visible holes in organza because a sharp shaft separates or breaks fine threads in a lightweight, loosely structured weave. The risk becomes higher when the pin is thick, inserted at an angle, pulled sideways, or used to support several layers.
Dense cotton and brocade can often disguise a small puncture, but organza is transparent enough for light to reveal a disturbed section. White, ivory, peach, blush, pastel green, and sky-blue organza show this problem particularly clearly. A pin can also create a short run when the dupatta is tugged after dressing.
Repeated pinning in one location causes more damage than a single careful insertion. A shoulder pin supporting the full width of a dupatta may pull downward whenever the wearer walks, sits, or lifts an arm. A waist pin beneath a heavy brooch can stretch the same threads for several hours.
Removing a pin doesn't always restore the weave completely. Gentle smoothing may reduce the appearance of a small opening, but broken threads can't be repaired by pressing alone. Rubbing, high heat, or aggressive steaming may make a distorted area more noticeable.
How to Pin an Organza Dupatta Without Leaving Visible Holes
Pin an organza dupatta through a reinforced border, stitched hem, seam, or dense embroidered section whenever possible, and use the smallest smooth pin that can hold the intended layer.
Choose a fine, smooth pin
A fine dressmaking pin with a smooth, sharp point is safer than a thick safety pin or a blunt decorative pin. A 0.4 to 0.5 millimetre needle works for many lightweight organza dupattas, while a thicker pin should be reserved for a backed border or several garment-supported layers.
Inspect every pin before using it. A bent shaft, rough point, loose head, or chipped metal surface can snag silk organza and pull a thread. Small glass-headed pins are easy to conceal at the shoulder. A large pearl head may look attractive but can drag a light dupatta downward.
Support the pin with the garment
Place the pin through the dupatta and a stable garment layer rather than allowing organza to carry the full load. A blouse shoulder, kurta seam, lehenga waistband, or stitched sleeve edge provides more support than a loose section of fabric.
Pinning close to a garment seam also keeps the puncture near a line that naturally attracts less attention. The pin should take a small bite of the organza and connect with the firm garment underneath. Avoid gathering a large volume of sheer fabric onto one point.
Keep the entry shallow
Insert the pin parallel to the dupatta edge or seam instead of driving it straight down into the middle of the panel. A shallow horizontal entry places less sideways stress on the weave and makes the pin less likely to enlarge its own opening.
For a shoulder hold, take a fabric bite approximately 5 to 8 millimetres from the finished edge. Keep the bite narrow and attach the pin to the garment seam below. A pin that captures a 2-centimetre fold may seem secure but creates concentrated tension.
Which Parts of an Organza Dupatta Are Safest to Pin?
The safest pinning points are the finished border, corner, tassel attachment, embroidered motif, neckline seam, shoulder seam, and waistband area supported by the outfit.
- Finished border: A zari, satin, gota, embroidered, or folded hem contains additional thread and usually tolerates more handling than a plain central panel.
- Embroidered motif: Dense thread work can disguise a tiny entry point, although the pin should avoid sequins and metallic zari that may snag.
- Corner: A corner can be anchored to a shoulder or waistband when the desired drape doesn't require a wide, loose fall.
- Shoulder seam: A garment seam brings a firm base and stops the dupatta from pulling only against a thin blouse or kurta layer.
- Waistband: A waistband works well for a front pleat or side tuck, especially when the top layer is supported by a skirt or palazzo waistband.
Keep pins away from a completely plain, transparent field whenever possible. A plain section of silk organza on a pale pastel dupatta can show a puncture more clearly than a woven border. Keep pins at least 1 centimetre inside a weak cut edge unless the edge has a stitched hem.
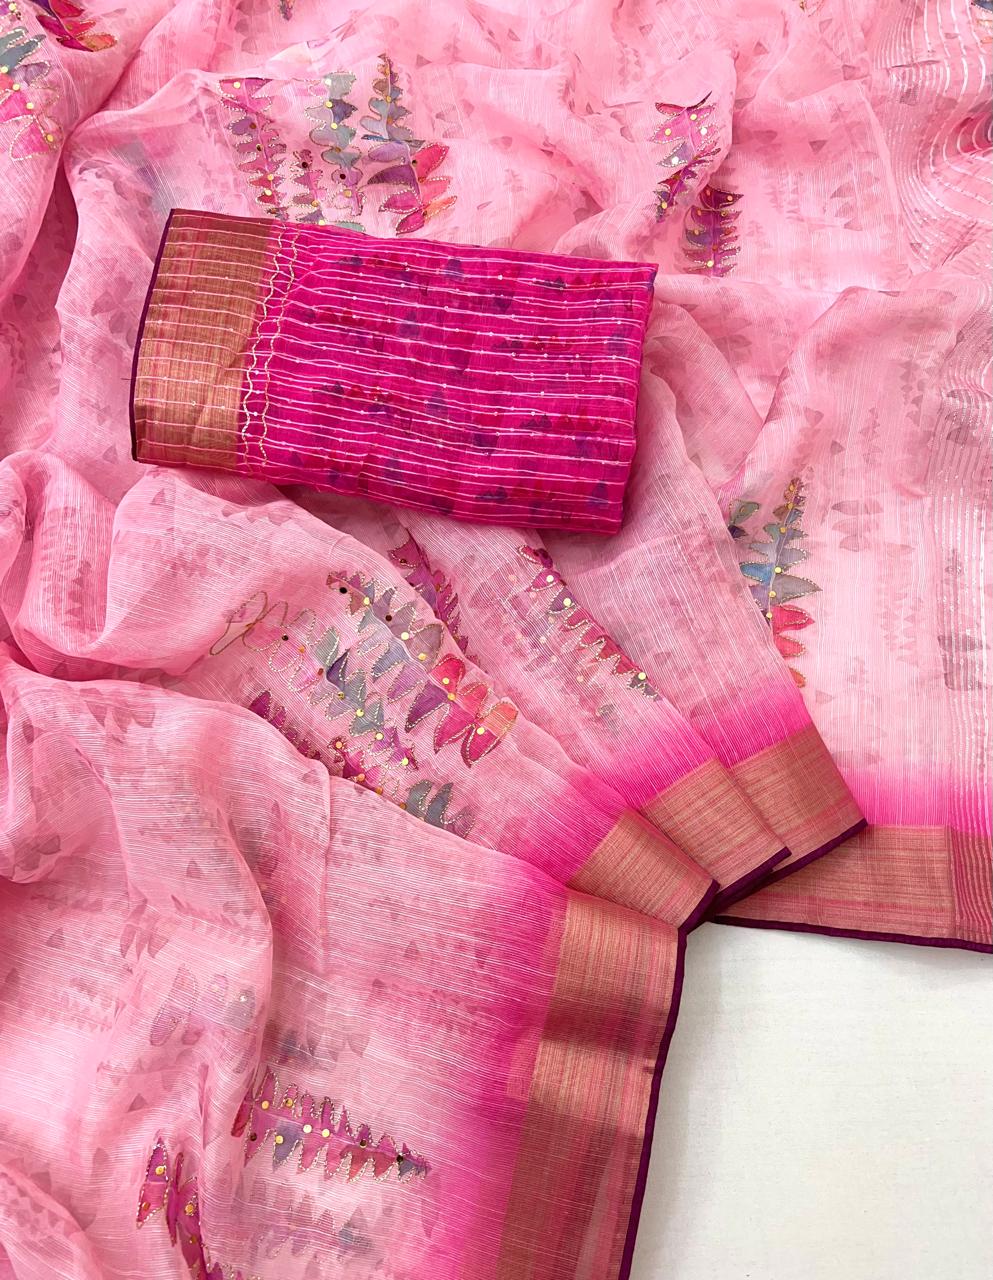
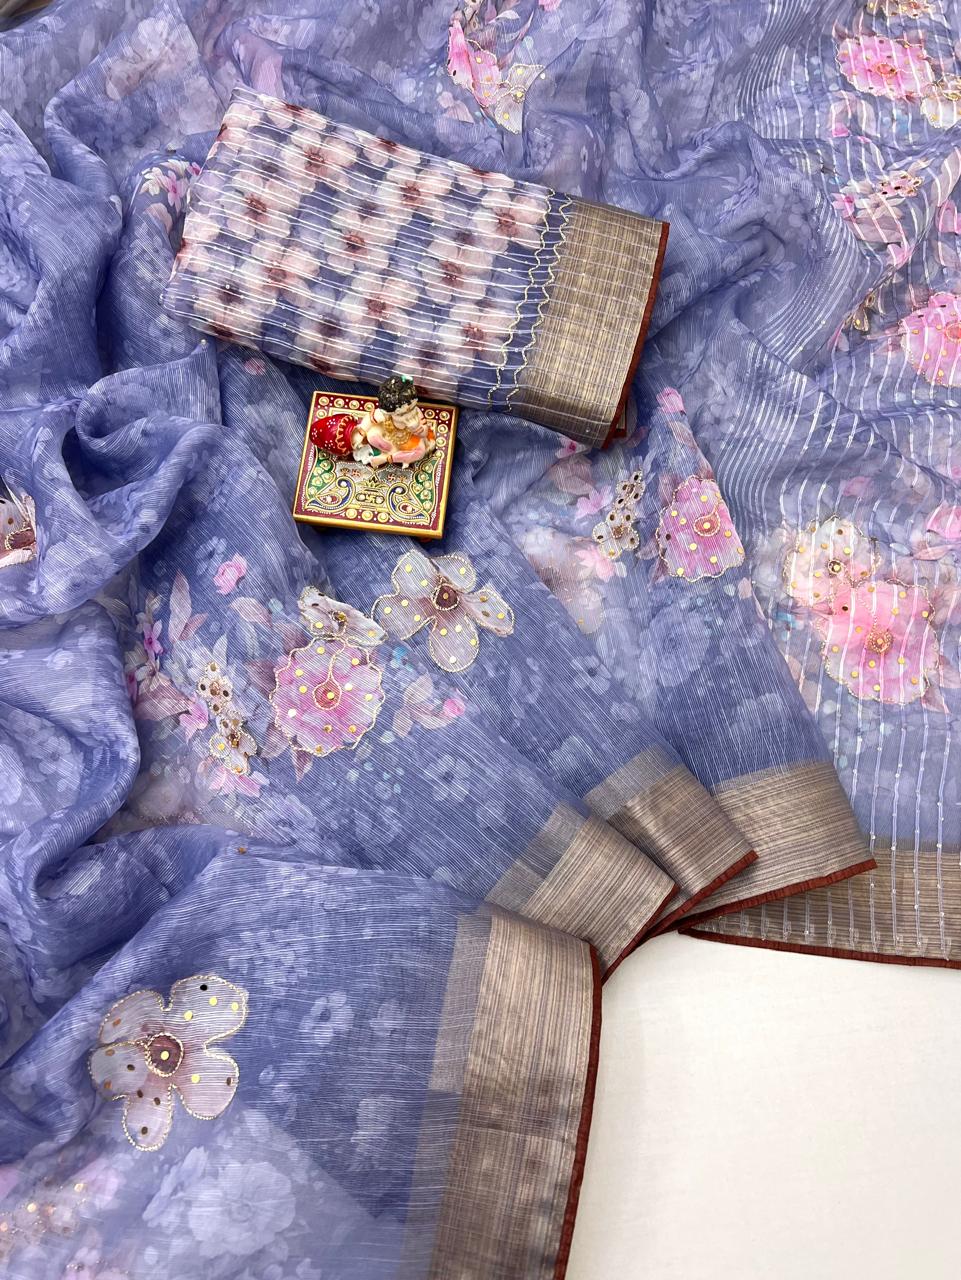
The Pink Organza Cotton Silk Saree With Thread & Sequin Work illustrates why surface detail affects pin placement. Thread work may disguise an attachment point, but a pin should not catch directly on a sequin. Slide the needle between embellished areas and check that the ornament doesn't lift when the fabric moves.
How Can You Secure Organza Without Pinning the Main Panel?
You can secure organza without pinning the main panel by attaching a hidden thread loop, using a pre-existing garment seam, or anchoring a small folded edge instead of piercing the broad visible surface.
Add a hidden thread loop
A tailor can sew a small matching thread loop to the dupatta border or corner before an event. The loop can pass around a blouse button, bra-strap holder, kurta loop, or tiny hook sewn inside the garment. The organza receives support at a reinforced point instead of at its transparent centre.
Use matching polyester or silk thread and keep the loop short enough to prevent sagging. A loop measuring approximately 1 to 1.5 centimetres is usually sufficient for a shoulder anchor. Test the finished drape while sitting and walking before wearing it for a long event.
Use a concealed garment anchor
A small press stud, thread bar, or fabric-covered hook can be stitched inside a blouse or kurta at the shoulder. The corresponding loop sits on the organza border. The method avoids creating a new hole every time the dupatta is worn.
Keep the anchor lightweight. A metal brooch attached directly to a plain organza corner can stretch the corner, while a stitched fabric loop distributes force over a wider area. A heavier brooch belongs on a reinforced border backed by additional fabric.
Try fashion tape carefully
Fashion tape can hold a narrow organza edge temporarily, but it must be tested on an inconspicuous area because adhesive may leave residue or affect a delicate finish. Use body-and-fabric tape made for clothing rather than household double-sided tape.
Apply tape only to the underside of a hem or border and remove it slowly after the event. Do not apply adhesive to zari, sequins, flocked prints, or damp fabric. Fashion tape is a light-duty solution for a lifting edge, not a replacement for structural support during active dancing.
How Should You Pin Different Organza Drapes?
The appropriate pinning method depends on whether the dupatta is worn over one shoulder, across both shoulders, around the neck, or into a lehenga waistband.
One-shoulder drape
For an one-shoulder drape, pleat the dupatta neatly, place the pleats over the shoulder seam, and insert one fine pin through the border and garment seam. Add a second hidden pin 5 to 7 centimetres behind the first only if the fabric slides during movement.
don't pin the front-facing centre of a plain dupatta to the blouse. Let the free length fall from the reinforced shoulder point, and keep the lower edge loose enough to move without pulling the upper pin.
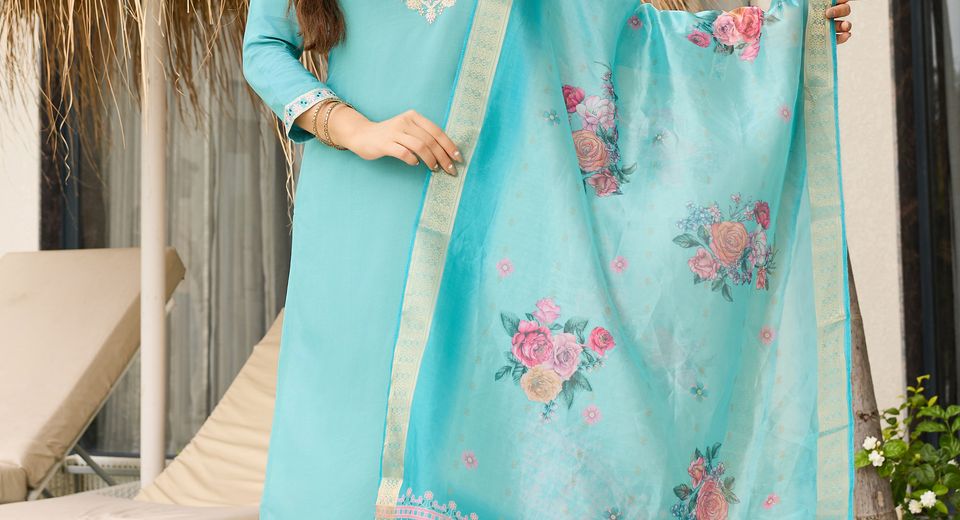
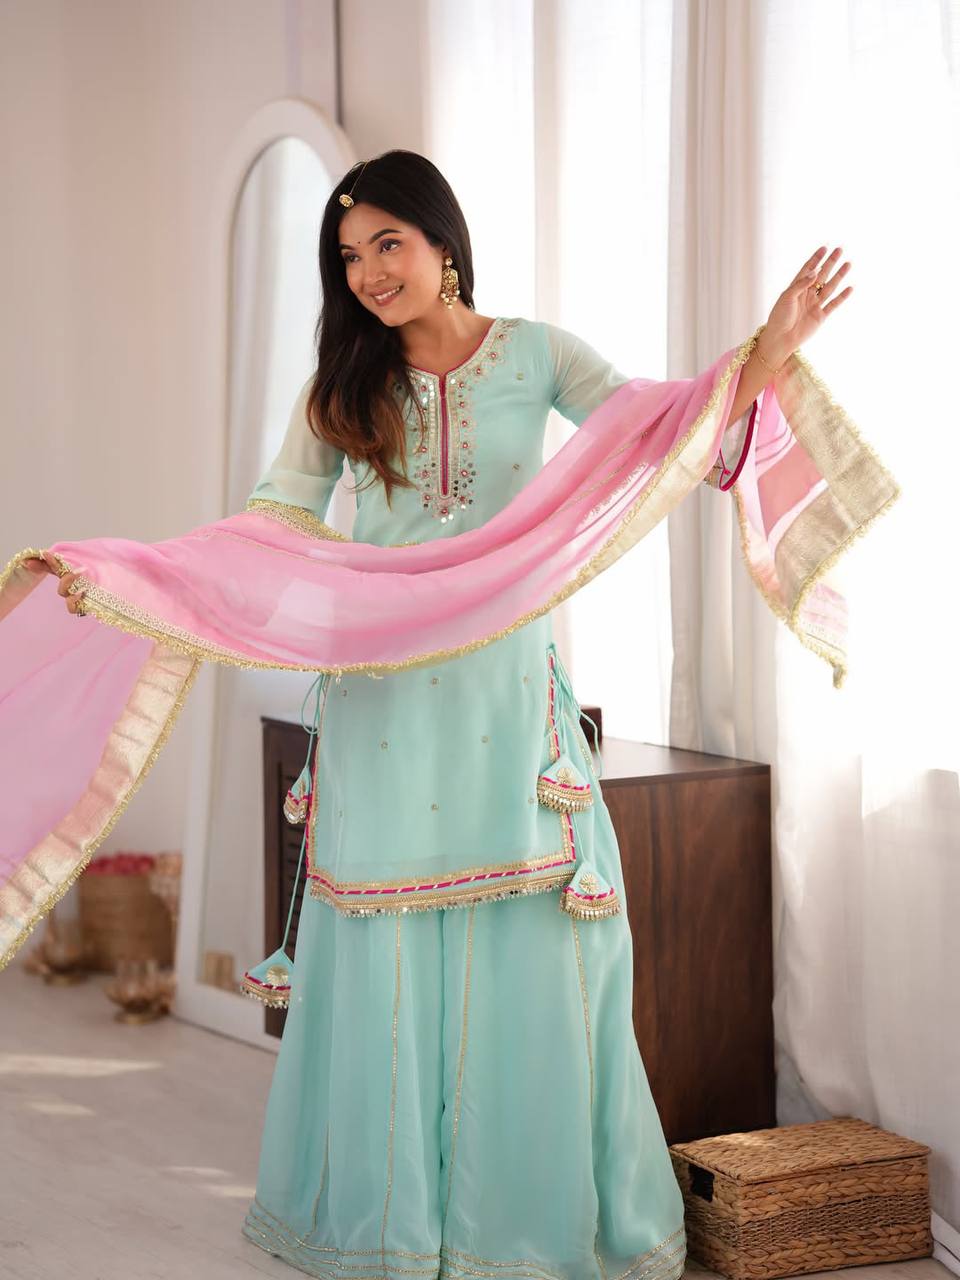
The Sky Mint Organza Silk Embroidered Sharara Suit Set suits this approach because shoulder placement allows the sheer dupatta to remain visible while an embroidered edge gives a practical anchoring area. A narrow pleat is safer than pinning a wide, unstructured fold.
Two-shoulder or cape-style drape
For a two-shoulder drape, secure each side at the shoulder seam and use the back neckline or a hidden thread loop as the central stabiliser. Three light attachment points distribute tension better than one heavy pin at the nape.
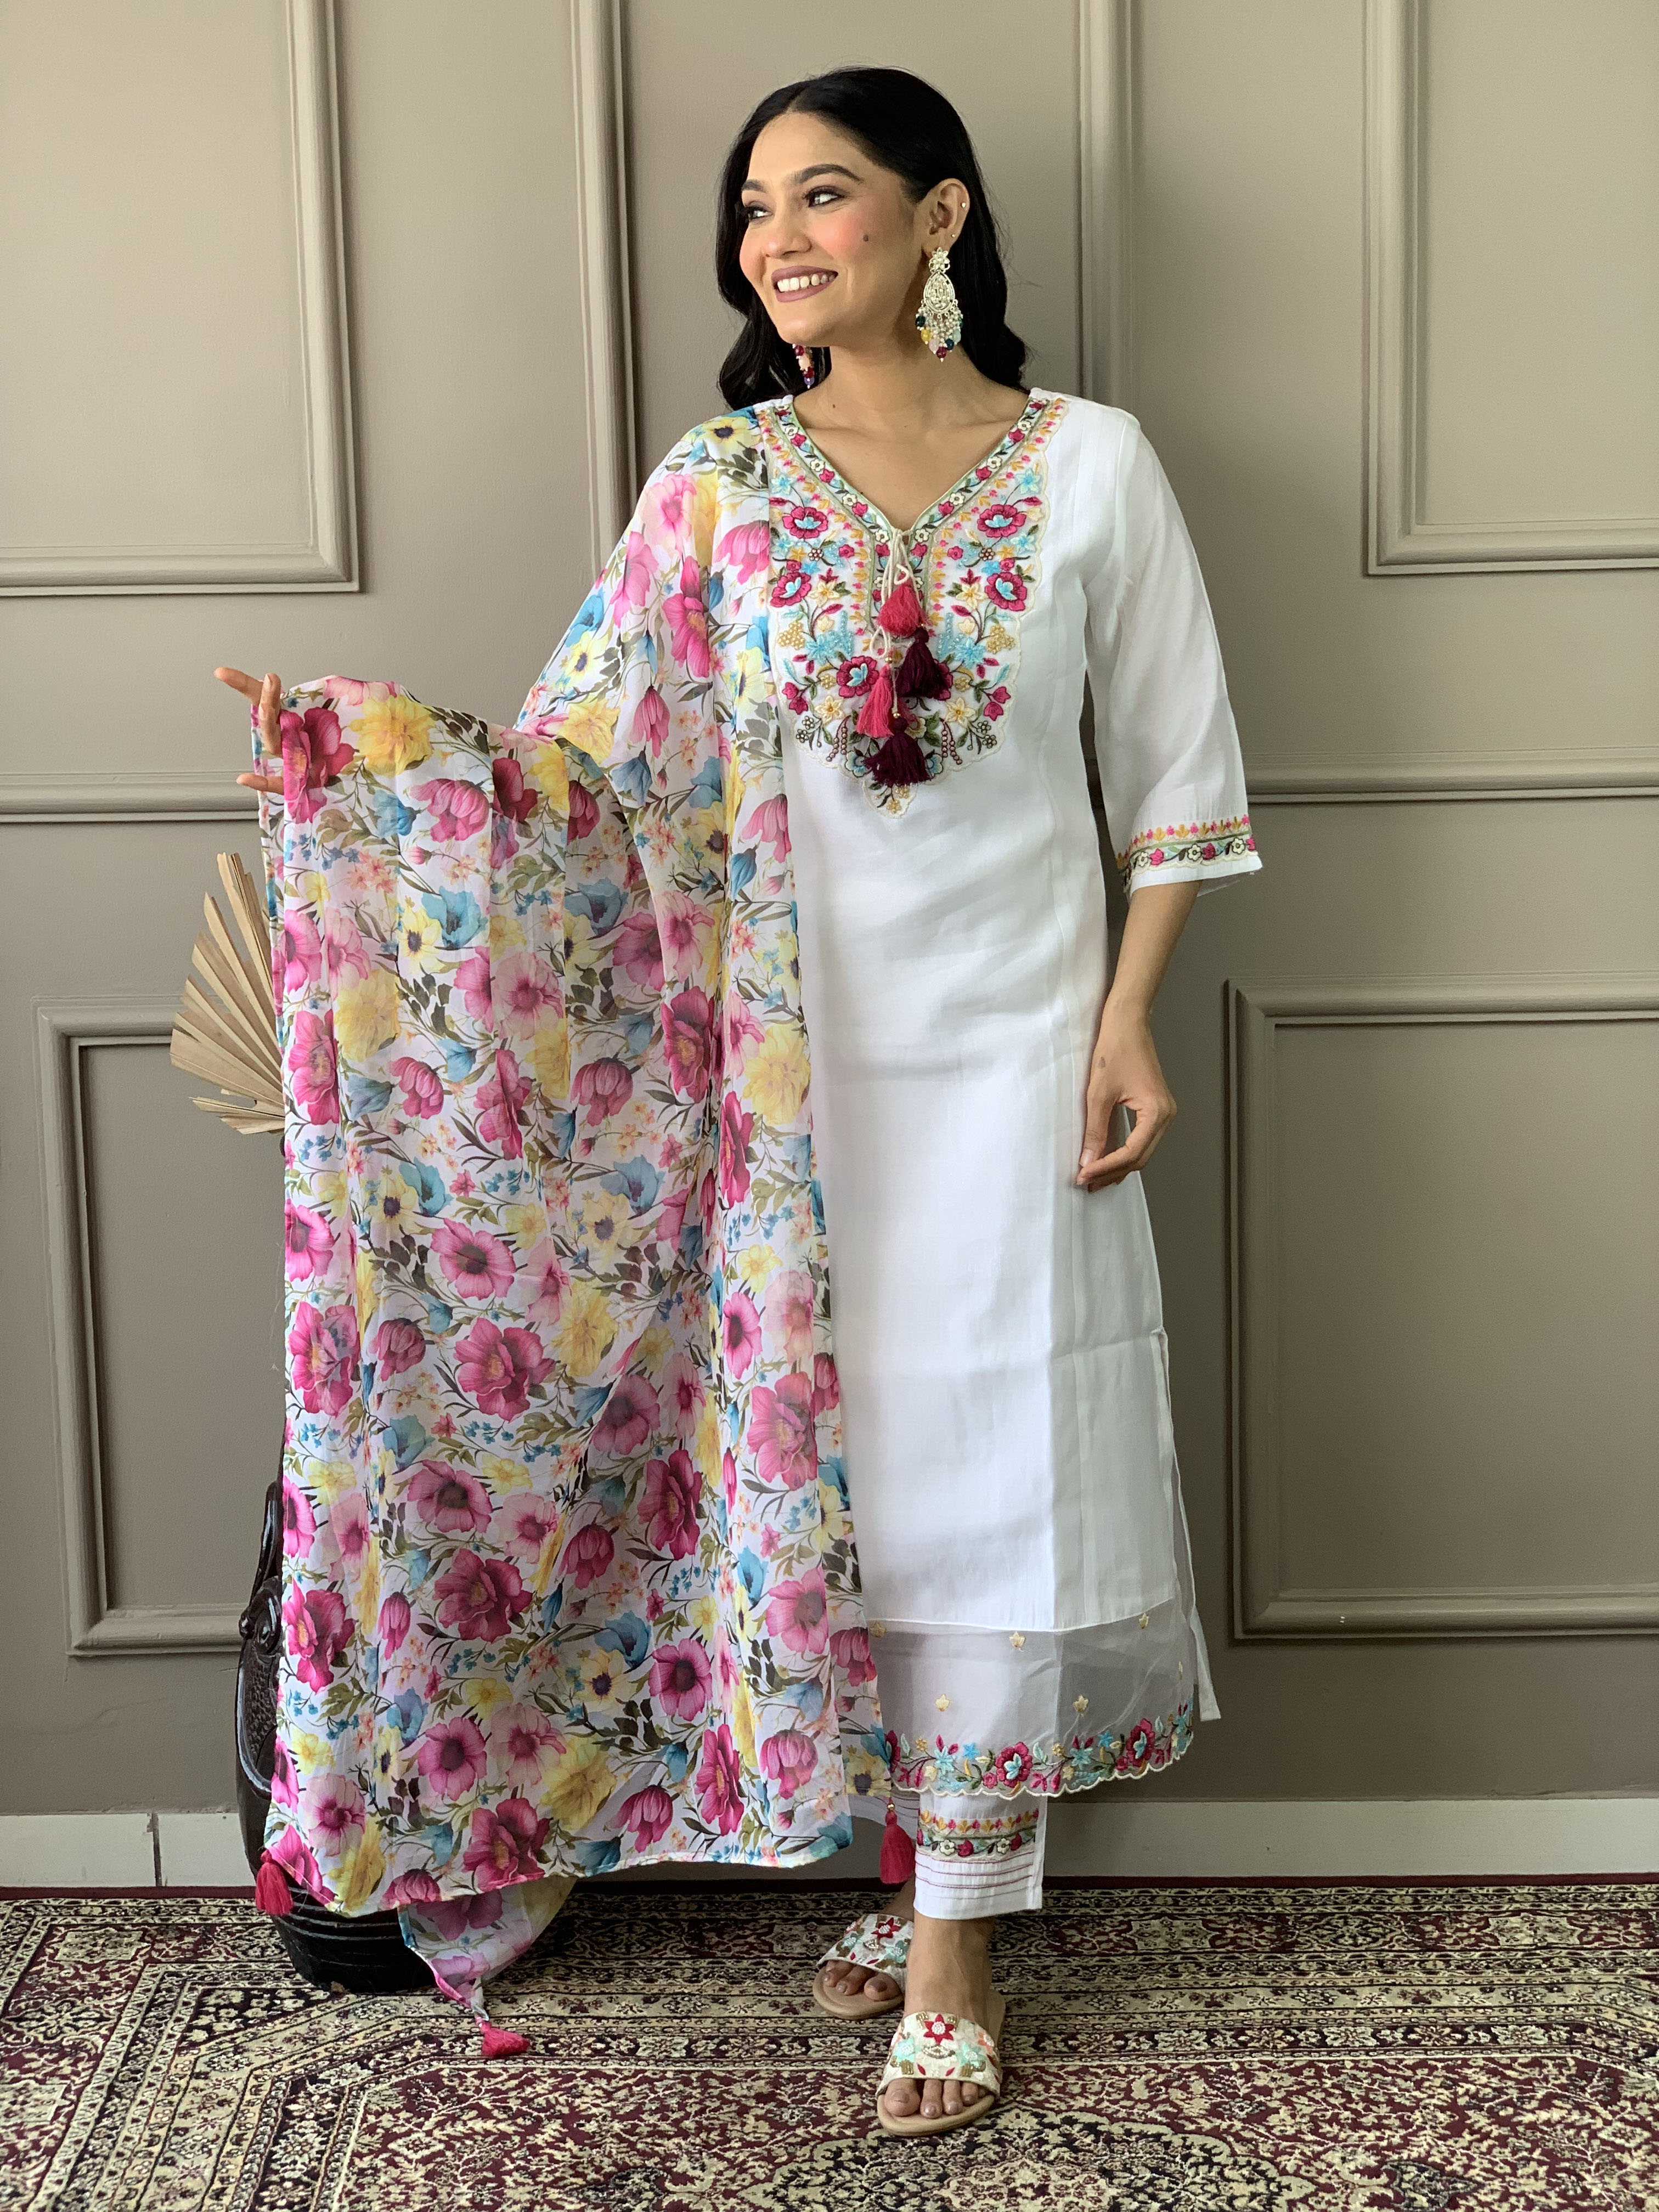
Keep the back section relaxed. Pulling both shoulder points tightly toward the neck causes the centre to bear constant strain and can create a visible line of stretched holes. The White Chanderi Embroidered Kurta Set with Organza Dupatta and the Pista Green Chanderi Kurta Set with Organza Dupatta can both be arranged with shoulder support while the Chanderi kurta carries much of the attachment load.
Lehenga dupatta with a waist tuck
For a lehenga waist tuck, secure the shoulder or head placement first and then tuck only a small folded section into the waistband. Use the waistband seam or a belt-like stitched area, not the sheer panel between the shoulder and waist.
Two small, spaced attachment points are safer than one pin holding every pleat. The Peach Floral Organza Lehenga Set with Printed Dupatta and the Red Floral Organza Lehenga Set with One Shoulder Blouse can benefit from side-waist support when the dupatta is worn over one shoulder.
What Should You Do Before and After Pinning?
Test the complete drape before the event, inspect the fabric under bright light, and remove pins by reversing the entry path rather than pulling them sideways.
Lay the dupatta flat and identify its borders, embroidery, zari, tassels, and weak cut edges. Decide the anchor points before dressing. A quick test on an inside corner or spare matching fabric can reveal whether a pin is too thick or rough.
Wear the full outfit for 10 to 15 minutes before finalising the arrangement. Sit on a chair, raise both arms, walk several steps, and turn your shoulders. If a pin pulls during any movement, redistribute the load instead of adding more pins to the same area.
Remove pins slowly after the event. Hold the fabric close to the pin with one hand and withdraw the point along the path it entered. Avoid dragging a closed safety pin across the organza. Check the cloth under daylight before folding it.
For storage, fold organza along soft, broad lines rather than pressing sharp creases into embroidered areas. Keep the dupatta away from rough jewellery, velcro, hooks, and open zippers. Store embellished organza in a breathable cotton or muslin cover.
How Do Outfit Details Change the Best Pinning Method?
Outfit details change the best pinning method because embroidery, lining, fabric weight, and garment construction determine where tension can safely travel.
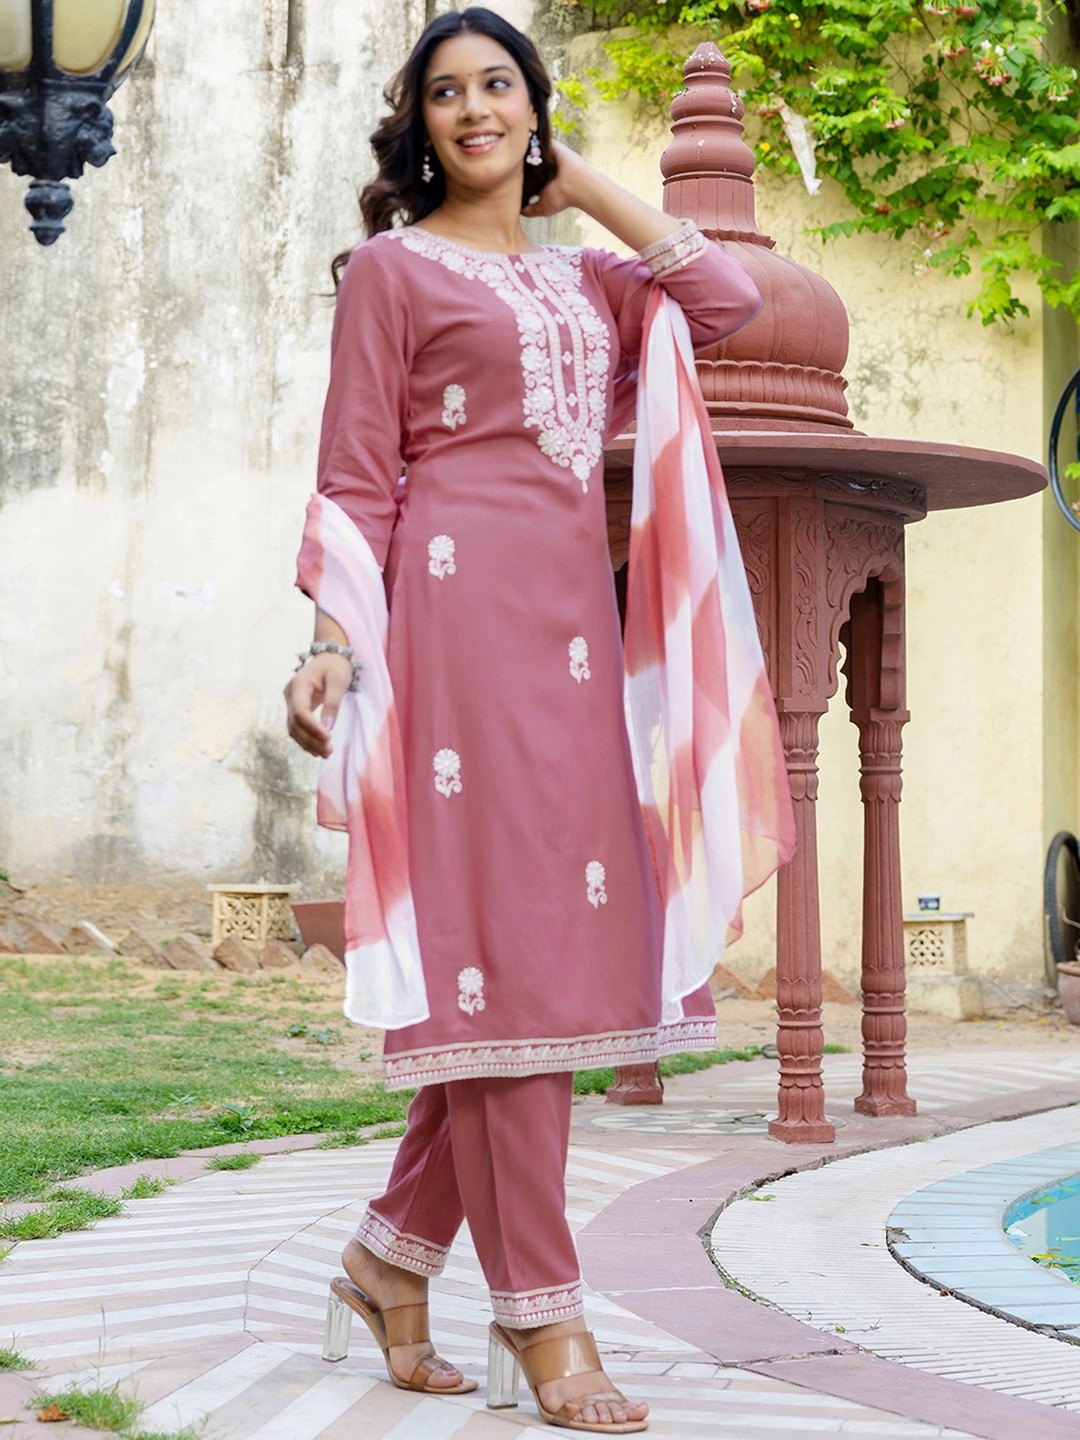
The Sky Blue Embroidered Viscose Kurta Set with Organza Dupatta has a kurta structure that can provide a stable shoulder seam, while a lighter unlined blouse may need a hidden loop or a stitched fabric anchor. The Maroon Viscose Chanderi Silk Embroidered Kurta Set for Women offers another example of using a structured garment seam rather than puncturing the centre of a sheer panel.
A dupatta with a wide zari border can usually accept a concealed pin near the border, but metallic threads should not be pierced directly. A printed organza dupatta may hide a small entry point better than plain organza, yet the printed area doesn't automatically mean the weave is stronger.
When choosing a ready-to-style outfit, the Organza Dress Materials Under 5500 collection can be assessed for more than colour and embellishment. Look for finished borders, stitched hems, practical shoulder seams, and enough garment structure to support the dupatta without excessive pinning. The same collection is useful when comparing whether a plain central field or a decorated border will make everyday draping easier.
For a light festive look, the White Chanderi Embroidered Kurta Set with Organza Dupatta can be pinned close to its shoulder seam, while the Maroon Viscose Chanderi Silk Embroidered Kurta Set for Women may support a more secure side or neckline anchor. The aim isn't to use more pins; the aim is to place fewer pins where the outfit can carry them.
A Five-Minute Organza Pinning Checklist
A five-minute check can prevent most visible pin damage before an event.
- Inspect the fabric: Look for plain panels, finished borders, embroidery, sequins, and existing loose threads.
- Choose the pin: Select a fine, smooth pin with a sharp, undamaged point.
- Locate support: Match each pin to a shoulder seam, waistband, neckline seam, or reinforced hem.
- Take a small bite: Capture approximately 5 to 8 millimetres of edge or border rather than a large fold.
- Test movement: Sit, walk, raise your arms, and check whether the fabric pulls.
- Redistribute weight: Add a hidden loop or second spaced anchor if one point carries too much tension.
- Remove carefully: Withdraw every pin along its entry path and inspect the organza in daylight.
A secure drape should remain comfortable when the wearer moves and should not depend on a heavy brooch or a tightly stretched shoulder point. Careful preparation protects the fabric while keeping the dupatta in place for photographs, meals, greetings, and dancing.
Common Questions About Pinning an Organza Dupatta Safely
What is the safest place to pin an organza dupatta?
The safest place is usually a finished border, stitched hem, embroidered section, shoulder seam, or supported waistband. These areas contain more structure than a plain central panel and distribute tension more effectively.
Can I use safety pins on an organza dupatta?
A small, smooth safety pin can work on a reinforced border, but a fine dressmaking pin is generally less damaging. Avoid thick, blunt, rough, or oversized safety pins because they can snag the open weave and enlarge the entry hole.
How do I secure an organza dupatta without piercing it?
Use a hidden thread loop, a fabric-covered hook, a press stud, or carefully tested fashion tape on the underside of a finished border. A concealed anchor is especially useful when the same dupatta will be worn repeatedly.
Can steam remove a hole from organza?
Steam may relax a slightly displaced weave, but steam cannot restore threads that have been broken. Use low heat, keep the steamer at a safe distance, and avoid rubbing or pressing directly over a punctured area.
How many pins should I use for a lehenga dupatta?
Many lehenga dupattas need two or three light attachment points: one at the shoulder or head and one or two at a supported waist or side position. The exact number depends on the border, weight, drape, and movement required, but extra pins should not be concentrated in one area.
Is organza more delicate than Chanderi?
Organza generally has a crisper, more open structure and can show punctures clearly, while Chanderi may feel softer and more breathable depending on its fibre blend. Both fabrics need smooth pins and reinforced attachment points, especially when embroidery or zari adds weight.